Showing posts with label Forever Young. Show all posts

Friday, July 8, 2016

CUT IT UP #100 - Anything Goes

Hello there!  Cut It Up challenge blog is celebrating it's 100th challenge.  YAY!!! Our theme is Anything Goes just like the very first challenge.  I haven't been there from the beginning but this was my very first DT :-)  So, Evelyn has asked all current and past designers to make a project to help celebrate.  So, make sure you visit the CIU blog to see all the wonderful projects and to link up your die-cut project!! 

 We have a bunch of wonderful sponsors this time :-) 
 
*Trendy Twine - sampler pack of twine
 
*Pink & Main Stamps - $20 gift certificate
 
*The Cutting CafĂ© -  One winner will receive: One clear stamp set & any 3 sets from the cutting cafe digital site. 
 
*My Creative Time: 3 winners will receive a Stamp Set
 
*DCWV: 6 Winners (Each winner will receive a 12x12 Paper Stack & a 6x8 Color Pad)
 
*Lawn Fawn: 6x6 paper pad & stamp set
 
*KBD (2) $5 gift certificate
 
* Bugaboo Digi Stamp: 7 Free Images
 
* Your Next Stamp: A $20 YNS gift certificate
 
Wow, pretty cool, huh?!!!   I used an image from one of our sponsors - Bugaboo Digi Stamps:
 
Recipe:
Bugaboo Digi Stamp - Winter Kidz
watercolor pencils
Distress Ice Stickles (snow)
Frosted Lace Stickles (white flower)
Pretty Pink Posh - Scallop Circles die
Plantin Schoolbook Cricut cart - circle @ 4 (shadow)
Forever Young Cricut cart - flower10 @ 1 3/4"
The Paper Studio - Uptown Flair stack - all patterned papers
pink button
Sew Easy floss - avalanche
TPC Studio - Greetings stamp set
pop dots
 
Thanks for stopping by today.  Be sure and join us at Cut It Up. 
 
Cindy---

Friday, April 15, 2016

CIU#94: Spring flowers

Hello there! It's time for another great challenge on the Cut It Up blog.  Our theme is Spring Flowers.  So easy, right?!!  Our wonderful sponsor is Bugaboo Digi Stamps. 

It's been a while since I actually cut layers of flowers and assembled them for a card.  It was fun!  I cut the layers in various sizes and then pierced a hole through the center and attached them to my card with yellow brads.  I then scrunched up the petals to fluff them up and add texture.  And I added some Stickles randomly on some of the petals to make them shine a bit.  It's hard to see in the photo.
Recipe:
Bugaboo Digi Stamp - Chibi ladybug
watercolor pencils
Diamond Stickles - flowers, flowers on digi, heart on her shirt
Glossy Accents - ladybug, girl's eyes
The Paper Studio - Spare parts - yellow brads
yellow organza ribbon
American Craft - orange paper
Craftsmith - Flutterbloom stack - green graph paper
DCWV - Amber Autumn stack - brown flower paper
Forever Young Cricut cart - flower 6 @ 1 1/4", 1, 3/4"
Tim Holtz - Stamper's Anonymous - Nature's element -sentiment

Thanks for stopping by today.  Come play along with us at Cut It Up.

Cindy---

I've entered this into the following:
 Creative Corner - Spring Flowers
 The Stamping Boutique - Flowers
 Little Miss Muffet #135- Anything Goes

Friday, August 7, 2015

ADFD: New Releases

Hello there!  Some fabulous new releases are on the A Day for Daisies blog today.  I am using Vintage Lipstick.  Don't you love her?  So glam!!  I decided to make a cute, little gift bag to show her off.  To see more images and more inspiration from the amazing DT visit the ADFD blog.


Recipe:
ADFD - Vintage Lipstick
watercolor pencils
Diamond Stickles
Black Diamond Stickles
Plantin Schoolbook Cricut cart - bag @ 7 1/4"
corner rounder
When I Was a Kid Cricut cart - frame @ 3 3/4"
Forever Young Cricut cart - glam @ 3/4"
DCWV - Melon Twist stack - patterned papers
white organza ribbon
DMC white floss
orange button
The Paper Studio - Spare Parts- charm

Thanks for stopping by today :-)

Cindy---

Wednesday, August 28, 2013

Purse giftcard holder


Hello!  It's Would You Ever Guess Wednesday on the My Cricut craft room blog today.  The theme is to create a project with a pocket or an envelope.  I have chosen to make a giftcard holder for my Mother-in-law's birthday :-)
Recipe:
5" square cardbase in white
The Paper Studio - Lola and Luca stack - all patterned papers
Core'dinations - fushia

Forever Young Cricut cart - purse2 @ 4 1/2"
Elegant Edges Cricut cart - burst @ 4 3/4"

The Paper Studio - Quatrefoil embossing folder

Tim Holtz sander to expose the white core, corner rounder, black brad to adhere the layers of the flower together, white satin ribbon by Ribbon Boutique, pearl bling.  Pop dots - I used these around the edges of the purse to create the pocket, by popping it up off the black shadow, to allow the giftcard to fit inside :-)

Thanks for stopping by today!  If you'd like to see more projects with pockets or envelopes please visit www.mycricutcraftroom.blogspot.com

Cindy---

I've entered this in Paper Playtime's challenge to use  pearls. 

Tuesday, September 25, 2012

Cricut Fanatics Challenge #1

Hello!  This challenge is all about creating something for Back-to-School using ribbons and buttons.  I've altered a 3-ring binder to keep myself on track with my two kids school schedules, RE classes, and my daughter's soccer games.
Front cover.
 
First divider in a page protecter.

More divider pages.


Recipe:
The Paper Studio - School Days - patterned papers

Plantin Schoolbook Cricut cart- all lettering @ 1", apple @ 8 1/2" using Roly Poly feature
Wedding/Seasonal Cricut cart - cross @ 4"
Wildlife Cricut Lite cart - bobcat @3"
Forever Young Cricut cart - sunglasses @ 1"
Boys Will Be Boys Cricut cart - dump truck @ 2"

MS abc123 punch, Celebrate It-Basic Narrows grosgrain ribbons, buttons from my stash, Sew Easy twine.

I attached the buttons and ribbon with black/white twine and just sewed them on :-)

Thanks for stopping by today :-)

Cindy---

Thursday, July 21, 2011

CC Wkly Challenge: Fabric


This challenge was fun.  I used a Gluber for the first time and made a fabric flower.  I used some cute fabric that I got at JoAnn's.  You really can't tell but it has flowers and ladybugs on it.  So, the challenge required 2 Cricut cuts and to use fabric on the project somewhere.

Recipe:
4" square card base in Kraft

Fabric from JoAnn's
Cosmo Cricket 2" Gluber

Forever Young Cricut cart - flower9 @ 3 1/4"
Plantin Schoolbook Cricut cart - 'hi' @ 1/2"
Cuttlebug embossing folder - Seeing Spots

Twine by My Mind's Eye-Lime Twist in Happy Days, Oriental Trading Co button, green bling, brown ink for the card edges, soft rose ink -used to accent embossing on the background paper.

Thanks for looking.  Good luck to all in the challenge.


Friday, March 18, 2011

Stampede: Calling Cards & Table Sign

I'm so excited to be going to the Dallas Cricut Stampede!!!  In just a few hours I'll be driving to the hotel :-)

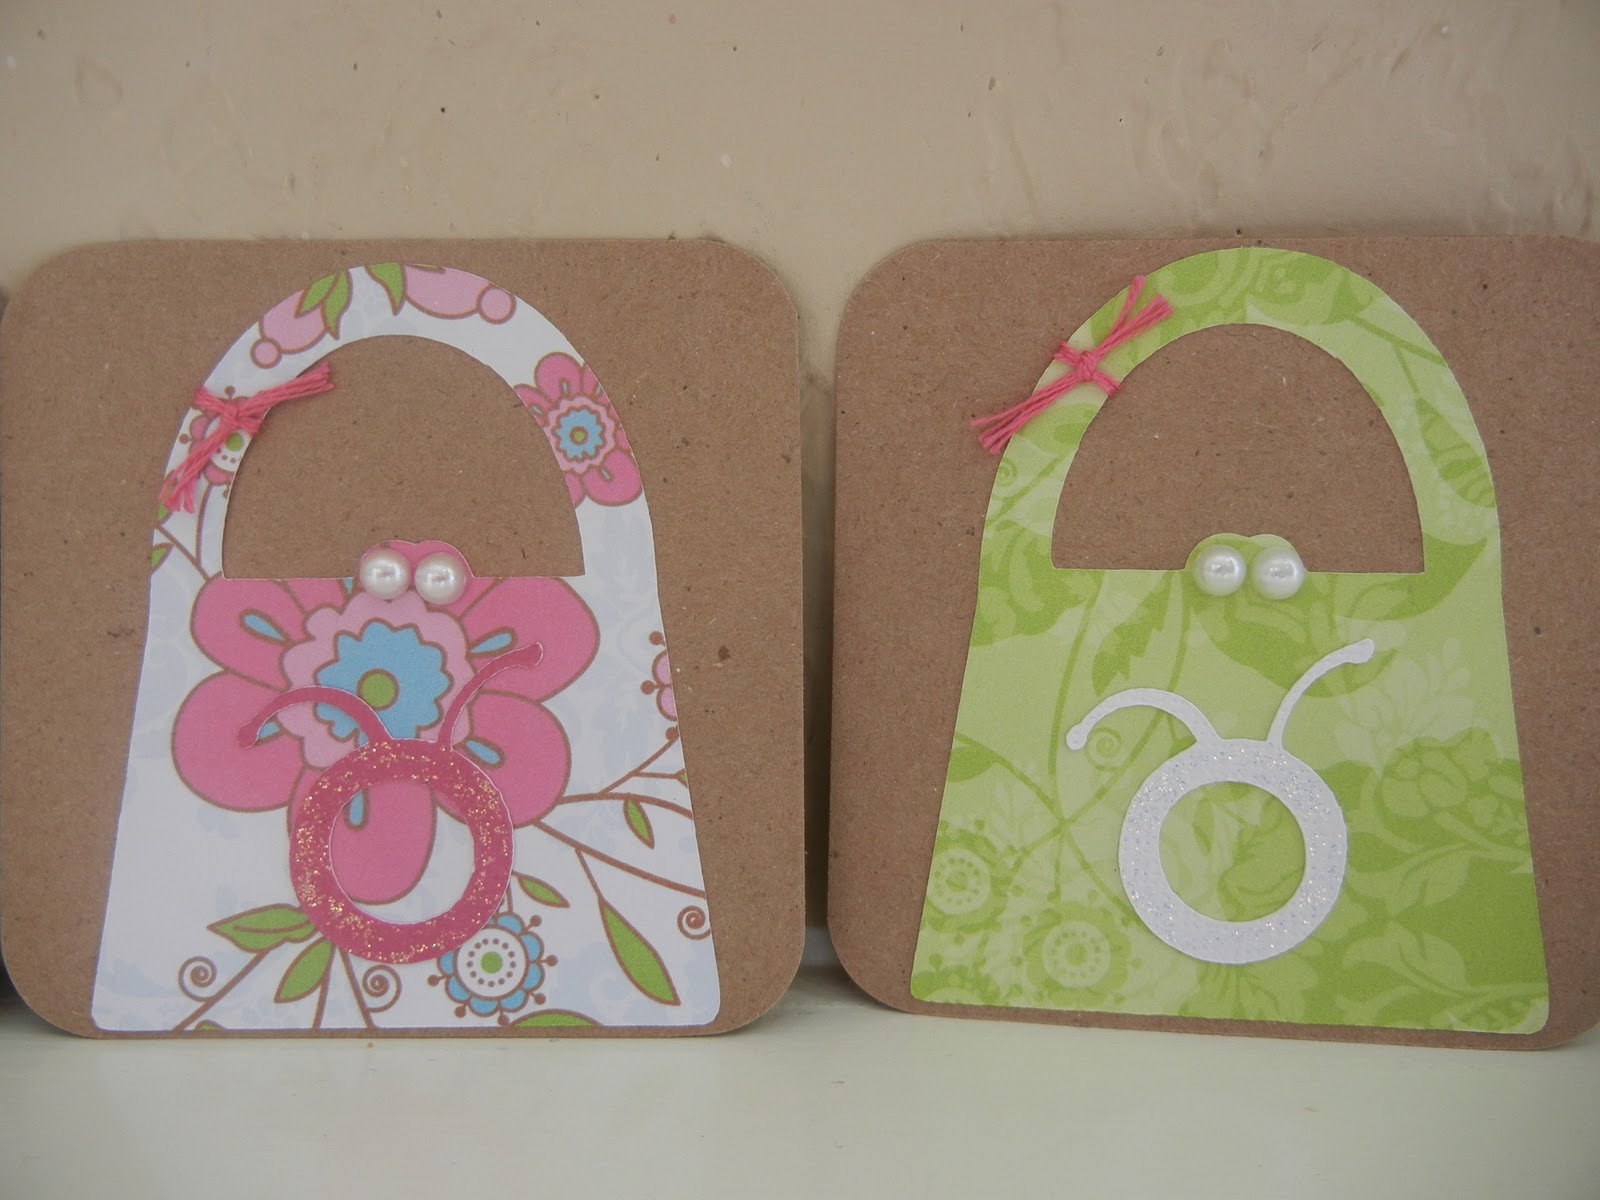
Calling cards:

Recipe:
3x3 Kraft base
DCWV- Spring Stack

Forever Young Cricut cart - purse cut at 2 3/4" using the shadow feature
Everyday Cricut cart - Cricut circle logo cut at 1 1/4"

Floss is DMC#602, 519, 704.  Diamond Stickles used on the logos.  Pearl bling.

Table sign:

Recipe:
12x12 Kraft base
DCWV - green paper & Spring stack -for the print

Forever Young Cricut cart - purse cut using the fit to page on a 12x12 sheet using the shadow feature.
Everyday Cricut cart- circle logo cut at 4 1/2"
Plantin Schoolbook Cricut cart - letters/#'s cut at 1" and 1 1/2"

Ribbon from my stash.  Buttons from Oriental Trading Co.  Diamond Stickles. 

As you can see I kept it very simple :-)  I made 115 calling cards. 

Thanks for looking.  Have a good one!

Saturday, January 29, 2011

My Sexy Valentine!

Okay, this is a fun, slightly naughty card I created for my  hubby. 

Recipe:
5" square Kraft card base
The Paper Studio- The Basics stack - red and red stripe papers

Forever Young - bra and panties cut at 2"
Nifty Fifties - red shape at 4"
Accent Essentials - scallop square cut at 4 3/4"
Robotz - letters cut at 1" (the V looked small so I used 1 1/4 -weird ??)

Cuttlebug - Retro Kitchen
Silver heart gems on bra and panties
White gel pen for doodling around red shape
Diamond Stickles on ruffles on bra and panties

Thanks for looking.  Have a great day!

Thursday, January 27, 2011

Cricut Circle Wkly Challenge #17: B.A.B.Y Challenge

At first glance this challenge looks like it will be about a cute, little bundle of joy.  But, nope it's all about me.  Lol!  The requirements are:

  • (B) = Brads
  • (A) = Aqua
  • (B) = Butterfly
  • (Y) = You as the Subject
I created a scrapbook LO.  And I think this is the first LO I've done about myself.  Last year I turned 39 for the second year in a row.  LOL!! 


Recipe:

DCWV  Stack 7 - pink patterned paper
DCWV Summer Dream Stack - aqua paper

Accent Essentials Cricut cart - scallop frame (accent 47) cut at 5" and the journaling square is the square from the middle of the frame
Robotz Cricut cart - '40' cut at 1"
Plantin Schoolbook - '&' cut at 2"
Forever Young - Model 2, 8, 12, 14, 20 cut at 2"  and Fabulous cut at 1"
Graphically Speaking cart - butterfly cut at 3"

Oriental Trading co - aqua brads
Pink bling was added to the butterfly.

Thanks for looking.  I love comments!!

Tuesday, January 25, 2011

PK Challenge: Let's Face it Friday - X's and O's

The challenge is to create a Peachified valentine using X's & O's somewhere on the project.    The design must be new and contain a Peachy Keen face. 

I really love how this card turned out!!  This would be a great card for your mom, grandma, sister, or your BFF :-)
Recipe:

5" square card using Kraft cardstock as the base.
DCWV Spring Stack - heart patterned paper, pink polka dot paper
DCWV textured cardstock - hot pink
Provocraft paper- solid green cardstock

Accent Essentials Cricut cartridge - scallop square cut at 4 3/4"
Plantin Schoolbook Cricut cart - heart using Roly Poly feature cut at 3 3/4"
Forever Young Cricut cart - purse2 using the shadow feature cut at 2 3/4"
Robotz Cricut cart - 'x and o' cut at 1"

Peachy Keen Basic Paper Doll Face Assortment stamp used for the face.
TPC Studio clear stamp from the Hugs and Kisses set used for the sentiment.

Buttons- Oriental Paper Co.
Diamond Stickles used around the purse.
Floss - DMC #3609

I doodled around the heart and added some add'l x's & o's above and below the sentiment with a black Zig pen.  I also popped up the XO for dimension.